Hoarding Cleanup: Understanding the Home, Protecting Belongings, and Working Step by Step
Welcome to the hoarding cleanup portion of this course. These videos give you a closer look at the conditions you may encounter inside a hoarded home and help explain how to approach the work in stages.
A home may contain everything from piles of clothing and newspapers to spoiled food, animal waste, damaged furniture, and belongings that have been hidden for years. Underneath those piles may be important documents, money, jewelry, photographs, Bibles, and family keepsakes.
With more than 30 years of experience in crime scene and hoarding cleanup, I want you to understand that this work takes patience, good judgment, and respect. You are handling somebody’s home and possessions. What looks unimportant to you may mean everything to that person.
Start by Understanding the Situation
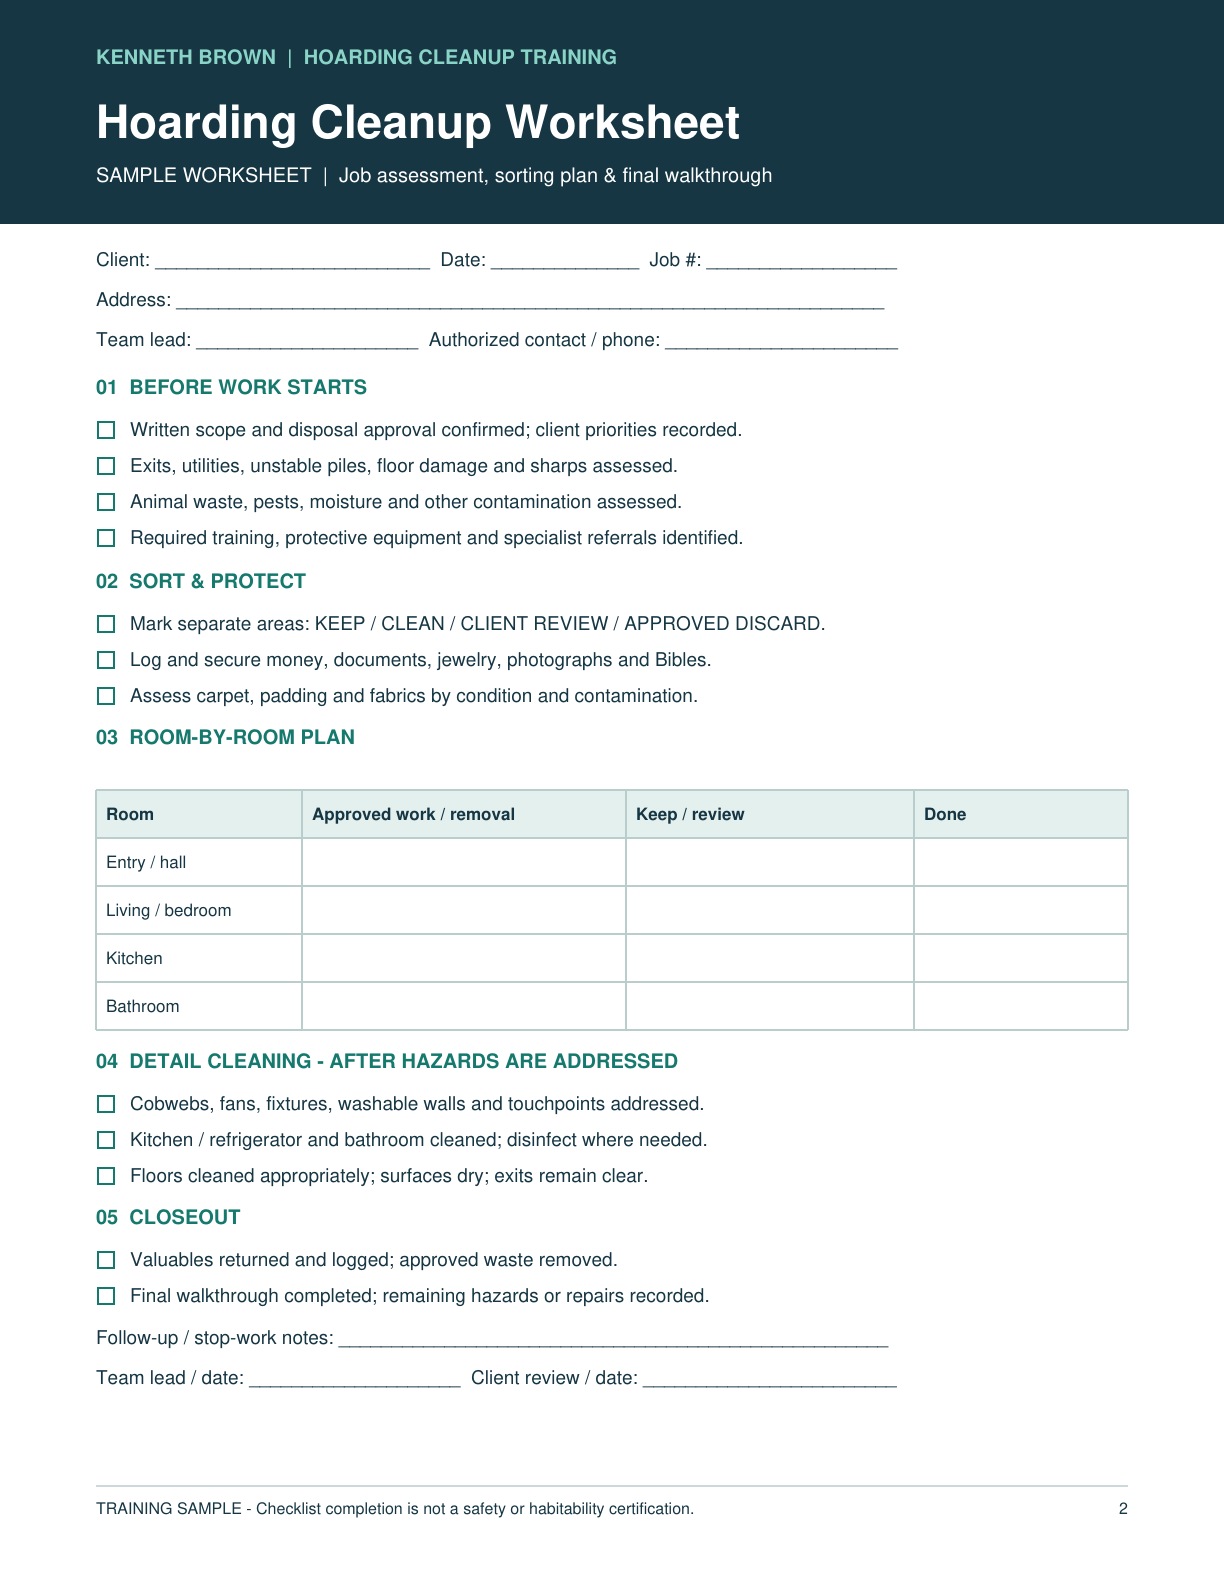
Before carrying anything out, walk through the areas that can be entered safely. Look for blocked exits, unstable piles, damaged floors, broken glass, exposed needles, pest activity, and signs of animal or human waste.
Do not climb over unstable belongings or reach blindly into bags and containers. If you encounter structural damage, strong unexplained fumes, extensive contamination, or other serious hazards, stop and bring in appropriately trained help. Ordinary cleaning gloves and a dust mask are not suitable protection for every situation.
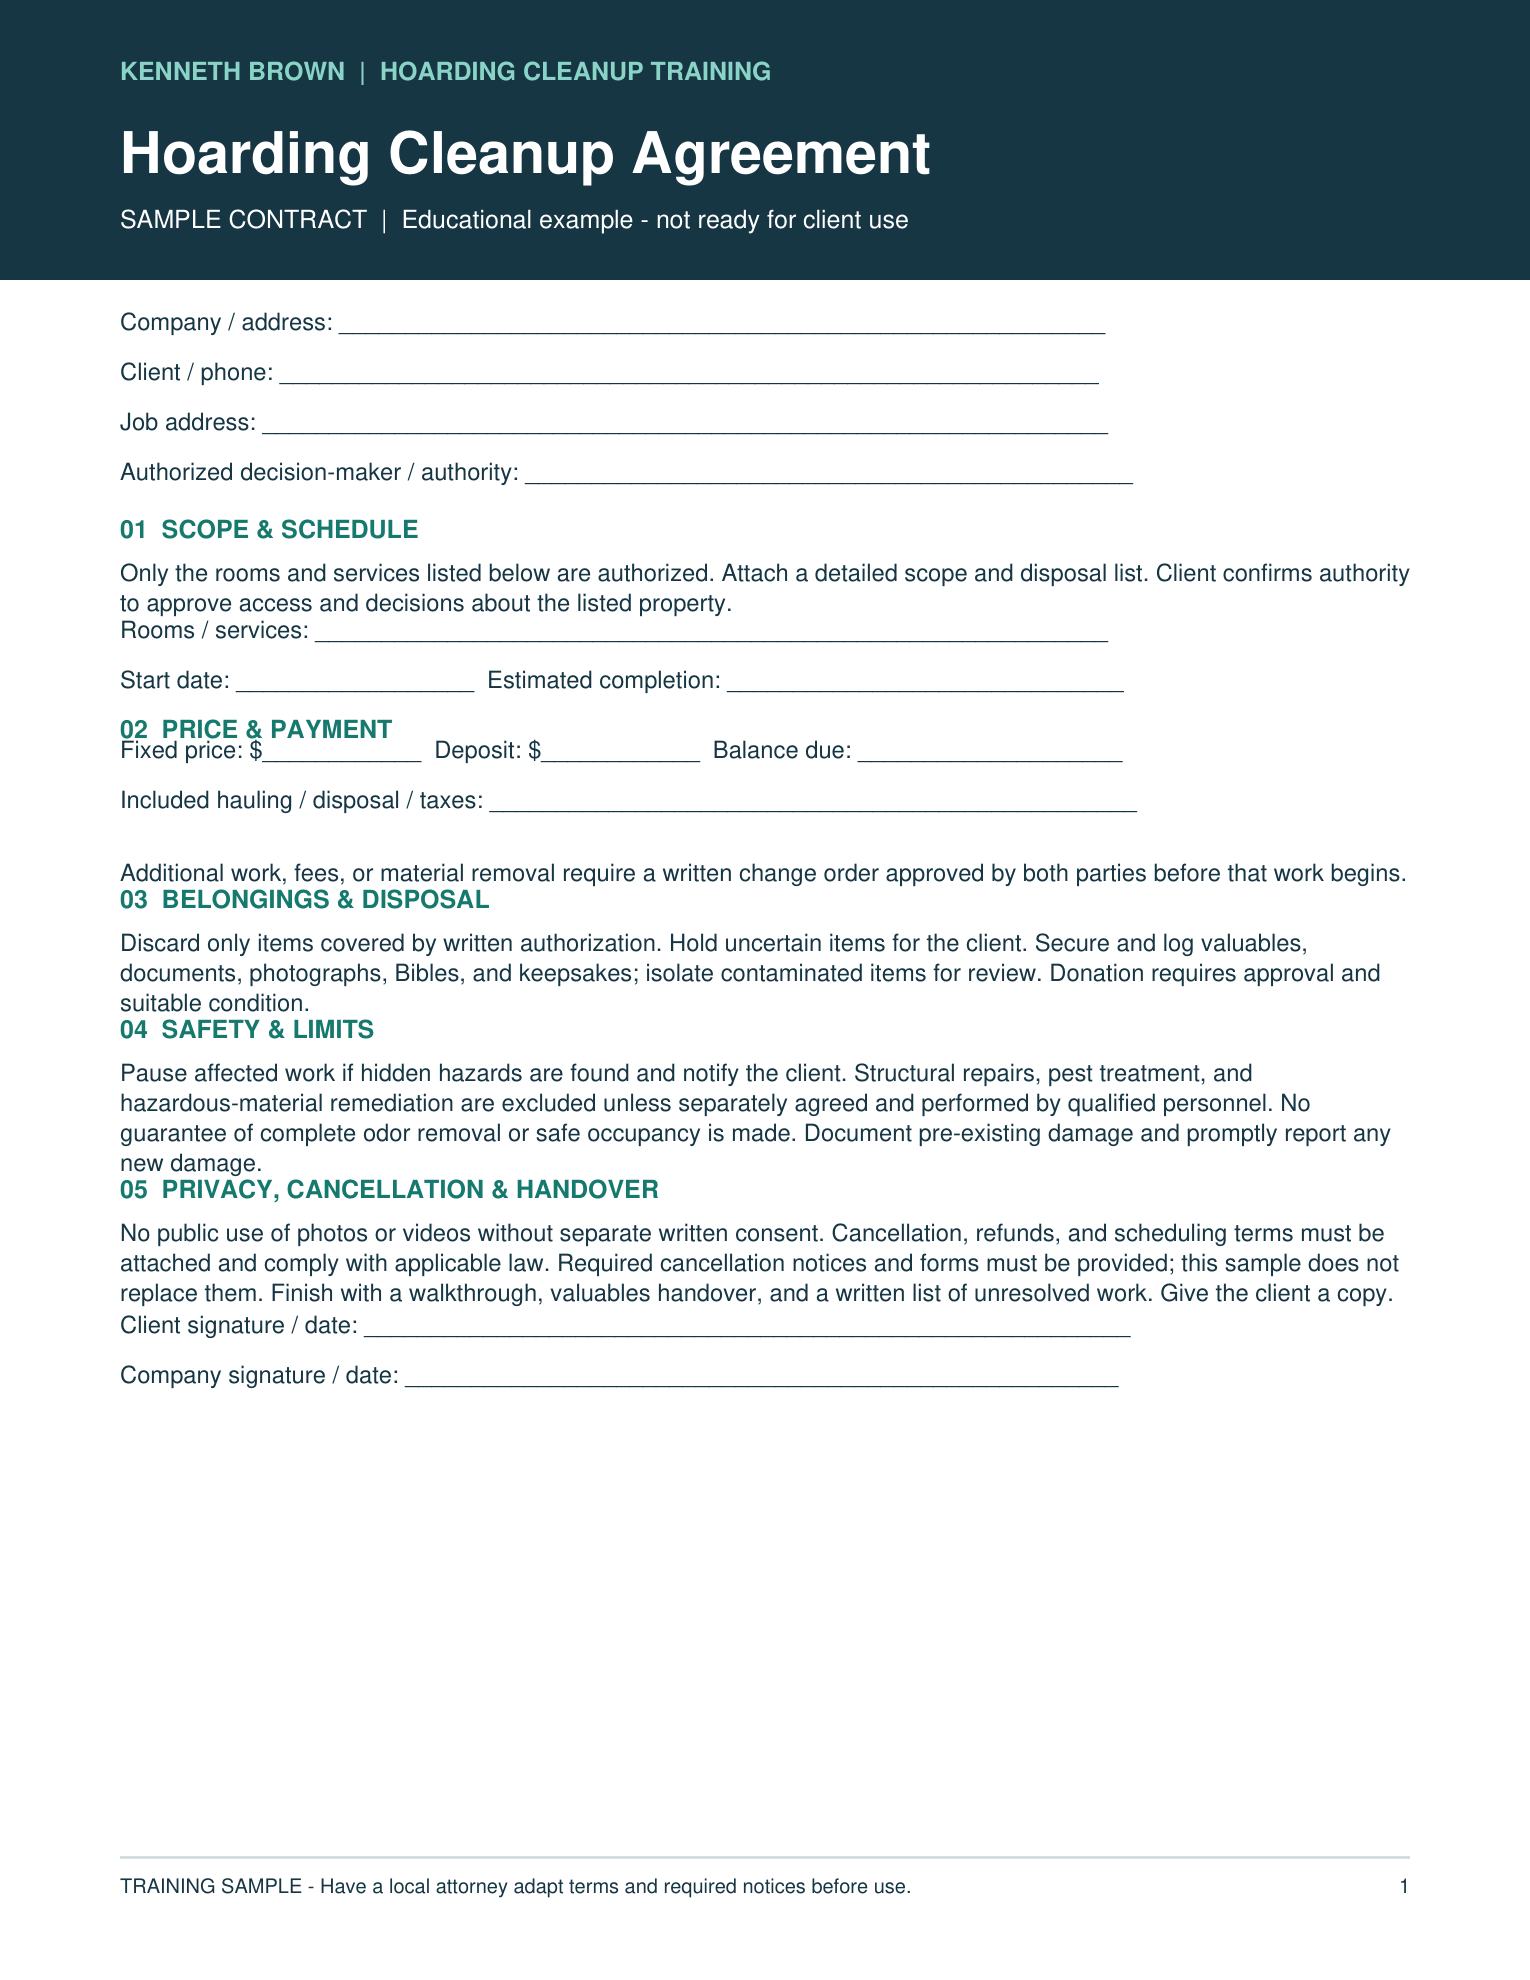
Talk with the homeowner or the person authorized to make decisions. Agree on what can be discarded, what must be saved, and which rooms or pathways need attention first. Ask about missing valuables, documents, photographs, and sentimental belongings before work begins.
Remove Approved Trash First
Once the work area has been assessed and a plan is in place, begin with clearly identified, approved trash. This may include empty packaging, food wrappers, spoiled food, and other unwanted waste.
Work in manageable sections. Establish a safe route in and out, and keep that route clear as you progress. Avoid piling bags where they block doors, stairs, or walkways.
Check items as you go. Money, jewelry, keys, and important papers can be mixed in with ordinary rubbish. Never assume that everything inside a trash bag is trash.
Needles, unknown chemicals, and potentially infectious waste require separate handling and appropriate disposal. They should not be mixed into ordinary cleanup bags.
Sort the Remaining Belongings in Stages
After the initial trash removal opens up the space, sort the remaining items into clear groups:
Keep and protect.
Clean and keep.
Set aside for the owner’s decision.
Donate or recycle if suitable and approved.
Discard with authorization.
Keep uncleaned belongings separate from clean items so dirt and contamination are not carried back into finished areas. Do not donate belongings with unresolved contamination or pest problems.
Large furniture and damaged materials may need to come out before detailed cleaning can begin. Decide the order based on safe access and the condition of the items.
Protect Valuables, Family Keepsakes, and Bibles
Set aside money, jewelry, photographs, identification, financial papers, military records, family documents, and other valuables. Use a designated secure location, label items by the room where they were found, and document their return to the owner or authorized representative.
My rule is simple: never throw a Bible into the trash. Set Bibles aside respectfully for the owner or family, along with other religious items and keepsakes.
If a Bible or another treasured item is contaminated, protect it separately and explain its condition before anyone handles it. Preserving an item for a decision does not mean it is safe to return to everyday use without assessment.
When you are unsure about an item, ask. Once something has been hauled away, it may be impossible to recover.
Decide What Can Be Cleaned and What Needs to Be Removed
An item’s condition matters more than its appearance alone. Consider what it is made of, what has contaminated it, how deeply the contamination has penetrated, and whether it can be thoroughly cleaned and dried.
Some hard, nonporous belongings may be recoverable. Carpeting, padding, mattresses, upholstered furniture, and other absorbent materials can be harder to restore when contamination has soaked into them.
In homes with animals, inspect for urine, feces, pests, and damage beneath furniture and floor coverings. Heavily contaminated carpeting and padding may need removal, and the floor underneath may also require treatment or repair. Some washable fabrics may be recoverable; deeply contaminated items may not be.
A home without animals can still contain mold, sewage damage, pests, or other contamination. The absence of animals does not guarantee that an item can be saved.
Clean Each Room from the Top Down
Once unwanted belongings and materials have been removed, detailed cleaning can begin. In areas cleared for ordinary cleaning, work from higher surfaces down toward the floor.
Remove cobwebs and clean accessible ceiling corners. Address ceiling fans, light fixtures, shelves, doorframes, walls, and baseboards using methods appropriate for their materials.
Turn off fans and lights before cleaning, allow bulbs to cool, and use stable access equipment. Never stand on piled belongings or unstable furniture. Keep moisture out of electrical fittings; damaged fixtures should be assessed by a qualified professional.
Wipe dirt from washable walls, testing the cleaner in a small area first. Avoid soaking drywall or assuming that surface washing will fix contamination that has penetrated a wall.
Pay attention to door handles, cabinet pulls, railings, and light switches. Apply cleaner to a cloth rather than spraying liquid into electrical switches or outlets.
Give Bathrooms Thorough Attention
Remove approved waste and unwanted items, then clean sinks, counters, toilets, tubs, showers, and other washable surfaces.
Remove visible soil before applying a suitable disinfectant where needed. Follow the product’s directions, including how long the surface must remain wet.
Use separate cleaning cloths and tools for toilets. Do not carry those tools into the kitchen or use them on other surfaces.
Report leaks, damaged flooring, and other problems uncovered during the cleanup. Cleaning alone does not repair plumbing damage or deteriorated building materials.
Clean the Kitchen and Refrigerator Carefully
Remove spoiled food and approved unwanted contents. Check cabinets and drawers as you empty them because important belongings can be stored in unexpected places.
Clean shelves, drawers, counters, sinks, cabinet fronts, and other accessible surfaces with products suitable for the material. Follow label instructions for food-contact surfaces, including any required rinsing.
Empty the refrigerator and clean removable shelves and drawers according to the manufacturer’s directions. Pay attention to seals, spills, and trapped food residue. Extensive contamination or an unsafe appliance may require professional assessment or replacement.
Do not move heavy appliances by yourself or disturb gas connections. Report damaged wiring, leaking connections, and signs of pests.
Finish with the Floors
After the higher surfaces and fixtures have been addressed, clean the floors using a method suitable for the flooring and the contamination present.
Ordinary loose dirt can be removed once the area has been assessed as suitable for routine cleaning. Do not sweep or vacuum rodent droppings, urine, or nesting material. These require specific cleanup procedures before ordinary floor cleaning.
Mop appropriate hard floors without flooding them. Change dirty cleaning solution and cloths as needed, and let surfaces dry fully. Remaining carpet should be assessed for appropriate cleaning and drying.
Understand Cleaning and Disinfecting
Cleaning removes dirt and residue. Disinfecting uses an appropriate product to kill remaining germs on suitable surfaces. A visibly dirty surface generally needs to be cleaned before it is disinfected.
Follow the product label for surface compatibility, protective equipment, ventilation, dilution, and contact time. Never mix cleaning chemicals or disinfectants. Never apply bleach directly to urine or mix it with ammonia products.
A fresh smell does not prove that a room is clean. Persistent odor may mean that a source of contamination remains and needs further investigation.
Complete a Final Walkthrough
Before finishing, review the work with the homeowner or authorized representative. Confirm that approved waste has been removed, belongings have been accounted for, and exits and walkways remain clear.
Identify any areas that still need repair, pest treatment, specialist cleanup, or further assessment. A cleared room should not automatically be described as safe for occupancy if unresolved hazards remain.
As you watch these videos, look beyond the amount of clutter. Think about the order of the work, the decisions behind each step, and how you would protect both the people and their belongings.
The goal is to restore usable space with care, patience, and respect. These demonstrations support learning; hazardous cleanup also requires training, suitable equipment, and procedures matched to the job.